After Effects Color Correction With Edge Mat
Ask Dt After Effects How To Composite Together A Rgb Matte Or Id Pass Youtube

Green Screen And Color Correction In After Effects Cs5 5 Youtube

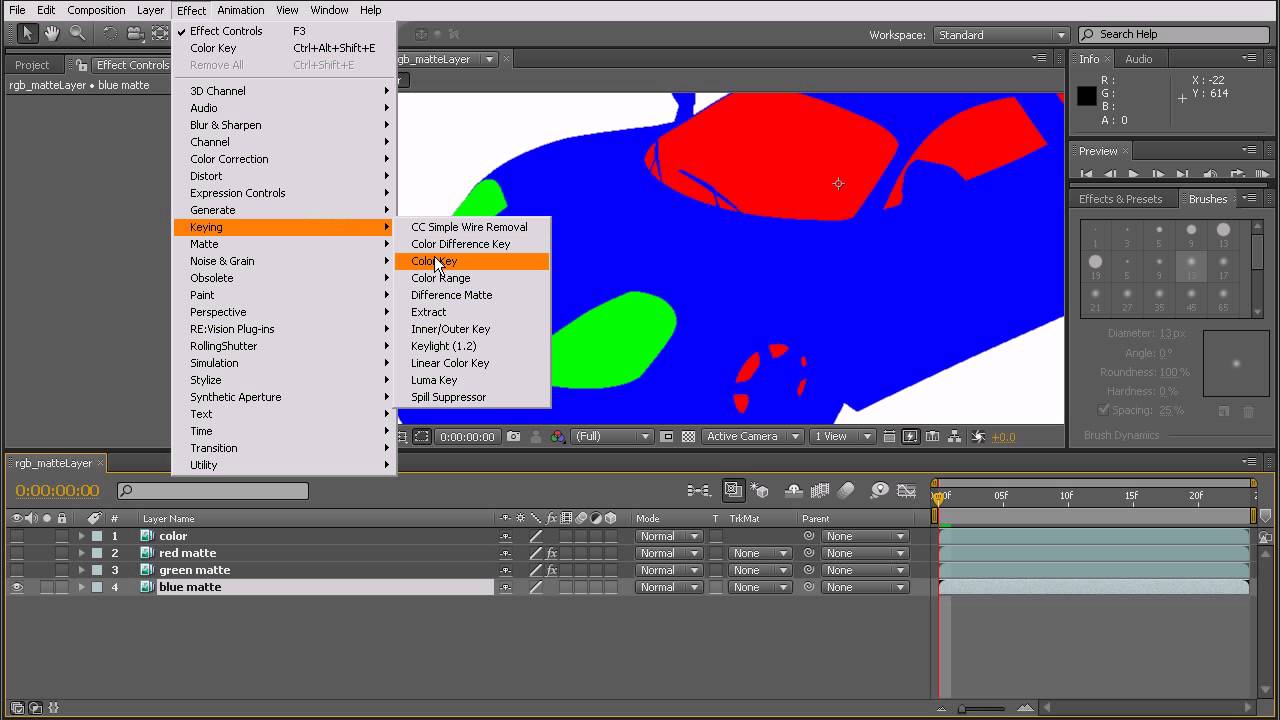
Keying Effects In After Effects

Https Encrypted Tbn0 Gstatic Com Images Q Tbn 3aand9gcsj9npbm2vuek X3rif5af31s4gcug9stz6xq Usqp Cau
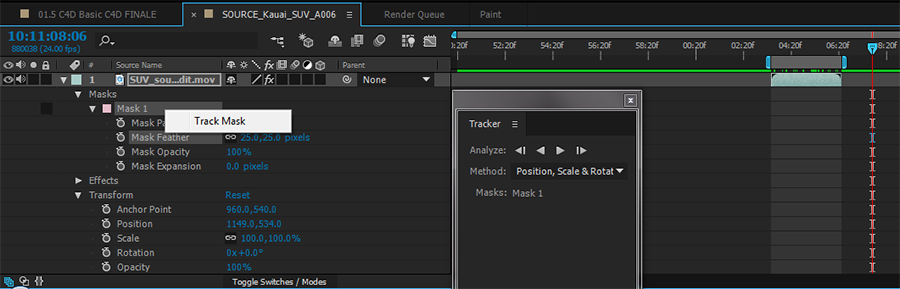
Using The After Effects Mask Tracker

Clone Stamp Tool After Effects Vfx Tutorial Vfx Tutorial Motion Graphics Tutorial After Effects

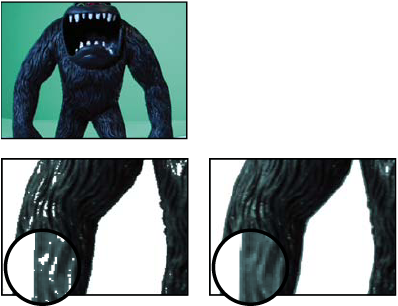
In this movie author luisa winters demonstrates how to use the edge color correction option to blend your footage together in keylight and adobe after effects.
After effects color correction with edge mat.

Easy Green Screen Keying In After Effects Cc Youtube

Background Replacement Using A Luma Matte In After Effects Youtube

Mask Not Working On Layer Creative Cow
Apply Matte Effects In After Effects
Source : pinterest.com
